Grisbot screen interface for light track

trackscreen

You know, time just flies when I’m doing graphic design. I sure wish I was good at it.

Anyhow, the above screen shows the graphical interface (in Scratch) for programming the robot in ‘light track’ mode.

0a: Specifies the distance at which the robot starts to move toward the light.

0b: Specifies the distance at which the robot starts to move away from the light.

1a: Specifies the angle at which the robot turns left or right or goes forward.

1b: Specifies a delay between sample rates.

It all makes sense to me because I’ve been working on it for days now. But I wonder how intuitive this screen is to someone who is seeing it for the first time. Not intuitive at all, I suppose. Well, my hope is that once it’s explained to the user, then it’s intuitive. We shall see.

Posted in Uncategorized | Tagged , , , | Leave a comment

Grisbot (S3) follows the light

grisbot s3

Poor Little Grisbot S3, I misprogrammed it this morning and instead of going forward it went backward — and off the table onto the floor. Despite landing upside down, it worked all right once I unbent the photocell leads.

Anyhow, here is the video of what I’ve programmed it to do now:

Programming this was a bit more challenging than I thought it would be. It ended up requiring multiple variables and calculations that broke the light responses into four zones:

light follow circle

(Click to enlarge.)

ZONE I: The left photocell reading is higher than the right, so we turn left.

ZONE II: The difference between left and right photocells is less than a set value, so we go forward.

ZONE III: The right photocell reading is higher than the left, so we turn right.

ZONE IV: The total of the left and right photocell readings is below a set value, so we stop.

Who sets the ‘set values?’ Why, the programmer does. And I’ll bet the robot behaves significantly different depending how they’re set.

Posted in Uncategorized | Tagged , | Leave a comment

Grisbot Model S3

DSCN4967

This is basically a wood and glue robot, but it’s sturdy enough for running around a tabletop and that’s what counts.

DSCN4968

As you can see, it’s also quite small — not much bigger than an Arduino or a computer mouse.

What happened to foambot? The foam wouldn’t cut easy enough. So we’re back to wood.

This is the cheapest robot yet, coming in at about ten dollars in materials. Add in labor and handling, and it comes to about twenty dollars for the kit.

This isn’t ready for Amazon yet, but it’s getting closer all the time.

Posted in Uncategorized | Tagged , , | Leave a comment

Introducing Foambot

foambot 01

In my continuing quest to drive down the cost of grisbot, I’ve had to reconsider using acrylic. The material costs $3, and then on a good day the local hackerspace charges $18 to cut it. And then depending on the cutter and the person who inputs the settings, the holes are either too large or too small. So I’ve had to reconsider using acrylic.

Foamboard is a material commonly found in arts and crafts stores. A 2′ x 3′ sheet goes for about $3. It has a thickness of 1/4″ and can be cut with an Xacto knife. It’s not the sturdiest of materials but it does appear good enough for the rigors of tabletop robotry.

On Sunday, I spent an hour or two making the rounds of local hardware stores to look for a small plastic L-bracket that I could drill into the base of a foamboard robot in order to mount the servos. No go. Then I went online and found them in a hobby store, for about a dollar each. For a little tiny piece of plastic. And I would need four of them per robot, which is not helping my goal of keeping the robot’s price point as low as possible.

That’s why I came up with this layered approach.

foambot 03

The servos are snugly sandwiched inside the foamboard layers. It’s a lot of cutting, but on a per-minute basis the labor cost is much less than the hackerspace cutter cost, and besides, I’m the laborer so it’s going into my pocket (for now).

How will the layers stick together? I’m thinking either glue or a standoff. Anyhow, the next step is to buy the foamboard and a cutting mat and see what is practical.

Posted in Uncategorized | Tagged , , | Leave a comment

Test vs. Reality

testvsreality

On the right hand side of the photo is the ‘test bed’ that I use for robot programming. It consists of an Arduino and a couple of breadboards. The support platform is ‘Getting Started with Processing’ but any book of similar size and weight will do. : - )

The test bed saves me the trouble of having to move the ATMega328 microcontroller chip back and forth from the Arduino to the robot breadboard every time I want to test the programming. With the test bed, I can run program changes and monitor microcontroller behavior through the serial monitor and the blinking of the LEDs.

When I’ve completed the testing, I move the chip over to the robot. In theory, since everything worked fine on the test bed, it should work fine on the robot too.

Well, it doesn’t.

*Sigh*

Posted in Uncategorized | Tagged , , | Leave a comment

Five Things To Remember (Pun!) About Arduino EEPROM

"When I cover your eyes, you will recall your past activiations . . . . "

“When I cover your eyes, you will recall your past activiations . . . . “

EEPROM stands for Electronic Erasable Programmable Read Only Memory and is the place in chip memory where data can be stored in the Arduino/ATMega328 even after power down. This can be useful!

The Arduino site has specifics on the EEPROM commands, so I won’t repeat that information here. However, there are some things that I’ve learned that I haven’t seen belabored enough elsewhere. Hence, this blog entry.

1. Data has to converted to byte format before it can be saved.

Suppose that x is an integer type variable and equals 3. Easy enough, you create a new variable in byte format and use the conversion function, like so:

byte xee;
xee = byte(x);
EEPROM.write(100,xee);

Unfortunately the ‘byte’ type only goes from 0 to 255. What if your variable is 256, or -34, or even worse, what if it’s floating point? You can’t simply use the byte() conversion function, you have to figure a way to break your number down into positive integers between 0 and 255, and then load them sequentially into EEPROM memory.

Likewise, when you’re taking data out of EEPROM, you’ll have to use the reverse of those conversion routines to convert from a series of bytes into, say, a floating point.

2. EEPROM can store user configuration data.

Let’s say that you program your ATMega328 chip with the Arduino, then put it on its own circuit board inside a project. Is there some way that the user can configure the chip without having to pry it out of its socket, stick it on an Arduino prototyping board, and plug a USB cable into a computer while hoping that the ports synchronize?

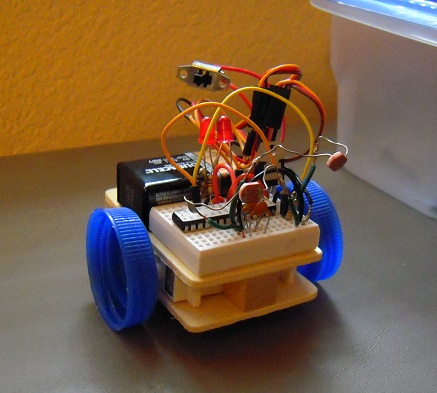
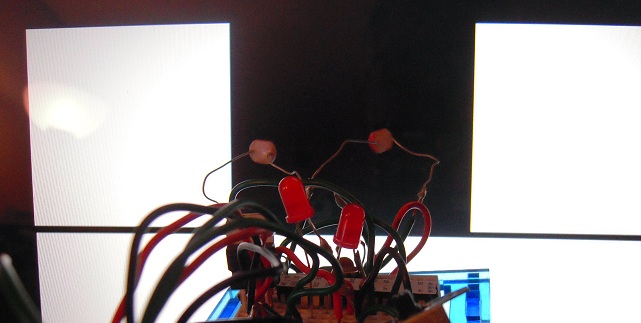
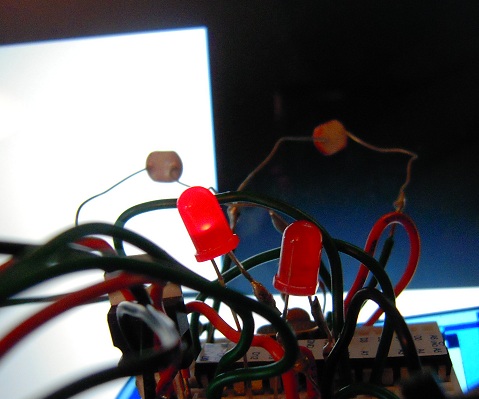
Well, in order to accept user configuration data ‘in the field,’ the device could use photocells (like grisbot), or pushbuttons, or perhaps jumpers from one of the unused pins to ground or high (eg, 5v). You’ll need to program a way to get into configuration mode, a way to configure when in configuration mode, and then a way to retain the configuration data even when the device is switched off. EEPROM, of course, comes in handy for the latter step.

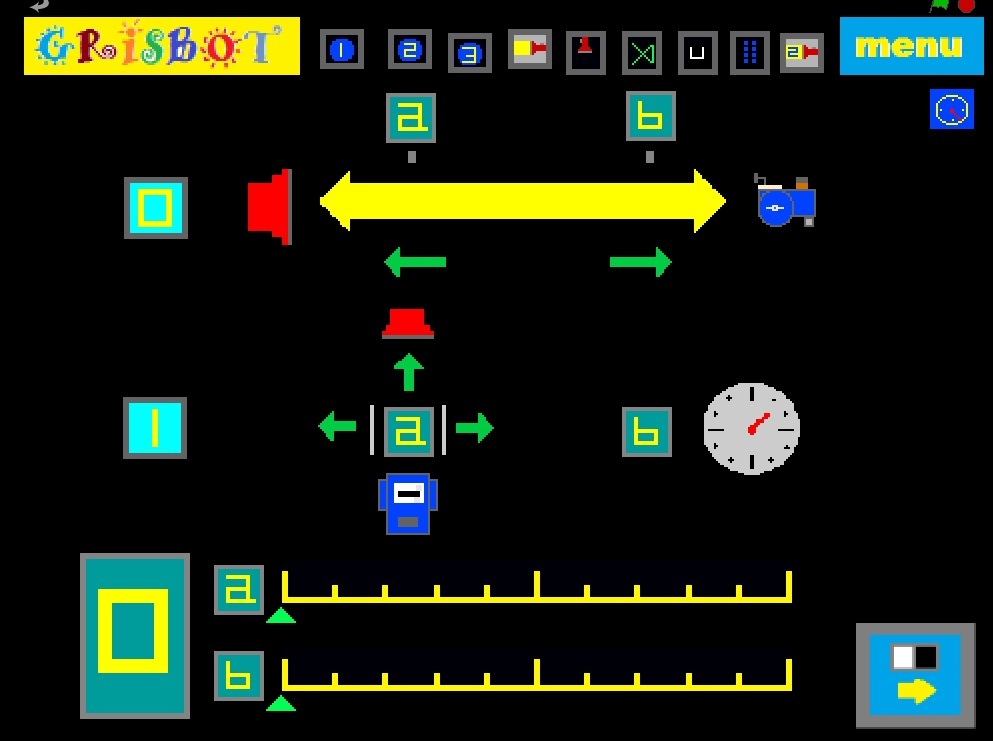
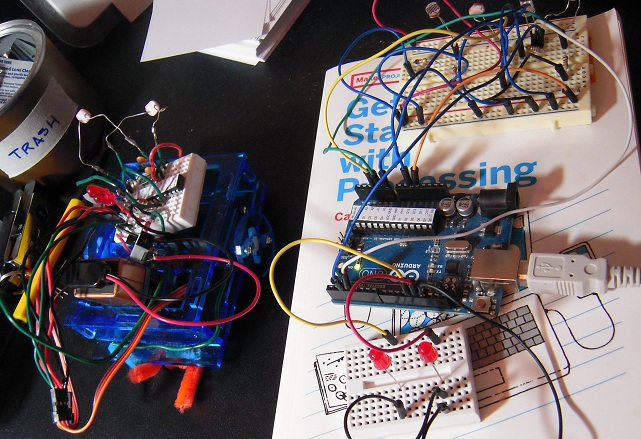
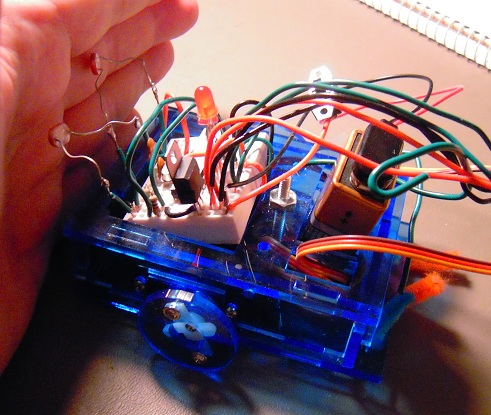
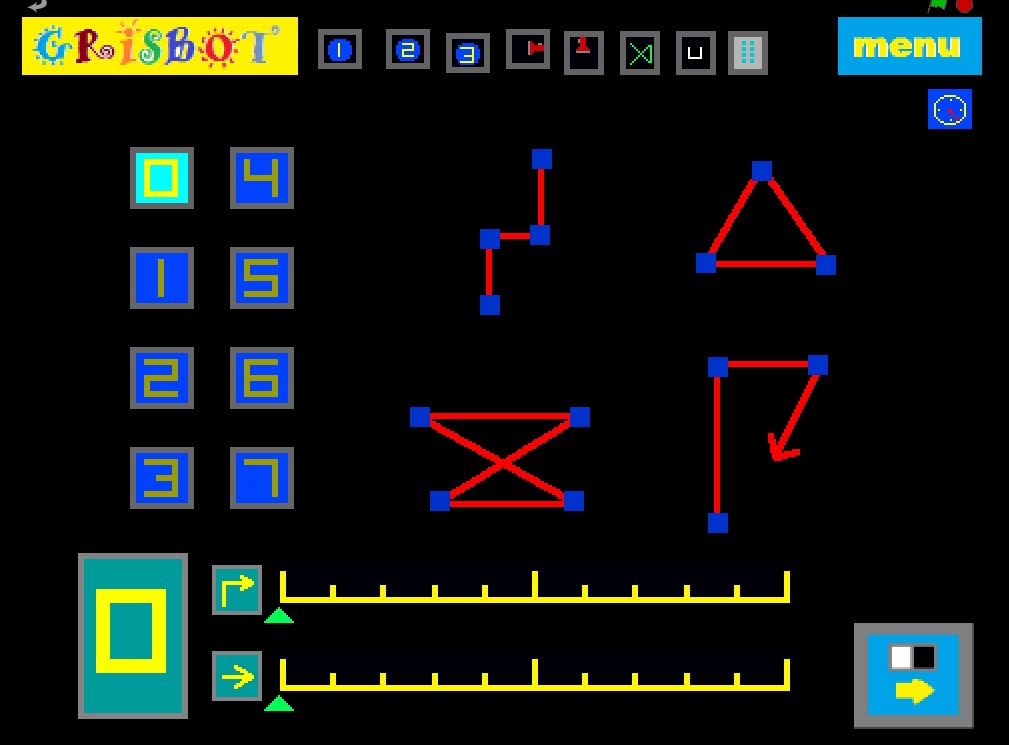
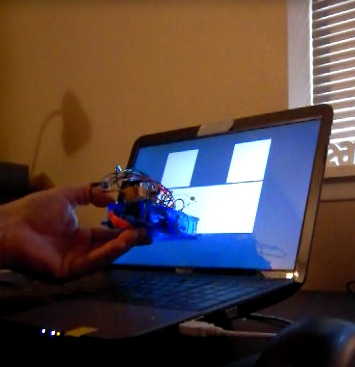
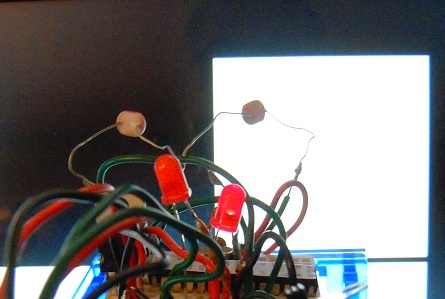
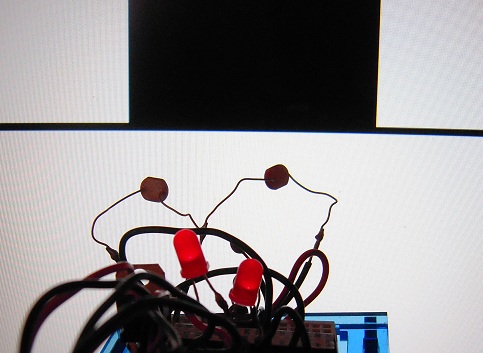
In the photo at the top, I show how to have Grisbot retrieve data from EEPROM.

Now, Grisbot automatically stores programmed data into EEPROM for multiple playback, but when you turn it on again, it won’t automatically go into playback mode. To make it go into playback mode, cover the photocells. The low light reading will trigger playback mode and grisbot will commence operations on data stored in EEPROM rather than having to re-read data flashed from the screen.

As another example of using EEPROM to help the user, say that you turn your Arduino into the heart and mind of a game. The user can save game data from one session to the next if you allow specific user commands to access EEPROM.

3. EEPROM burnout is not that big a problem.

EEPROM can be accessed a hundred thousand times before burnout. Now, that’s a hundred thousand times for each memory cell. EEPROM memory cell #0 can be accessed a hundred thousand times, EEPROM memory cell #1 can be accessed a hundred thousand times, and so on.

Even if Grisbot were to be programmed twenty times a day, it would take five thousand days to burn out EEPROM. Five thousand days is over thirteen years. So you see, EEPROM is not necessarily a big problem for me, and probably it won’t be for you either on your project.

4. EEPROM burnout can be a big problem if you don’t watch out.

Let’s say you have an EEPROM access command in an infinite loop, like so:

infinity:
EEPROM.write(50,mem_ee);
goto infinity;

It takes only 3 ms to access EEPROM, so in just three seconds this loop could access a specific EEPROM cell a thousand times. In five minutes, the specific EEPROM cell could be burned out even though we’re just stuffing the exact same value into it over and over again.

In other words, if you make the mistake of placing an EEPROM access command in an infinite loop, you could load a program (aka ‘sketch’) into the Arduino, go to the bathroom or make yourself a snack, and by the time you get back the EEPROM cell would be burned out.

Perhaps you’ll never use the goto command, but you still have to worry about the biggest infinite loop of all, which is the void loop() procedure itself. If you cycle through void loop() several times in a second — not at all uncommon in the Arduino programming world — an embedded access command can burn out an EEPROM cell in a matter of hours unless you impose some kind of rare conditional for using EEPROM in the loop.

5. Burning out EEPROM is not the end of the world.

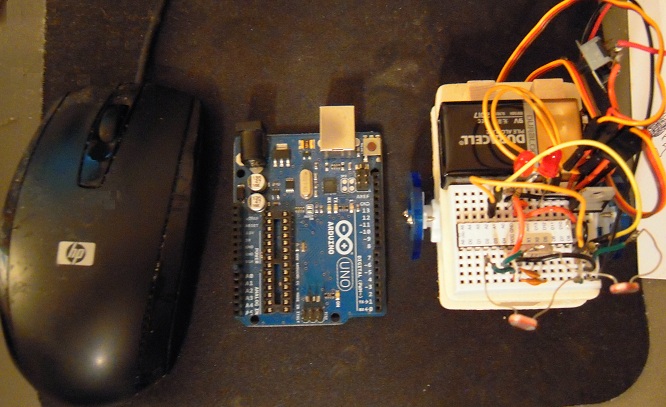
ATMega328 chips with the Arduino bootloader cost a lot less than an Arduino, and if you burn out EEPROM, all you have to do is replace the chip. (Of course, I’m assuming you’re using the DIP package Uno rather than SMT Leonardo.)

Nor is the chip a total loss. Maybe you have ideas for a project that doesn’t use EEPROM, so the chip can be salvaged for that.

For that matter, just because you burned out a cell doesn’t mean the rest of EEPROM is a total loss. Suppose, for example, you were saving data in cells 5 through 10, and they burn out. Why not simply rewrite your program to save the data in cells 15 through 20?

* * *

Well, I’m still new at the EEPROM game myself, so I’ll stop there. If you have any tips/corrections of your own, don’t hesitate to post a comment.

Posted in Uncategorized | Tagged , , | 2 Comments

Grisbot Scratch Interface for Free-Form Mode

free-form

The idea behind free-form mode is that a user can design her own path, say on a sheet of paper, and then program the robot accordingly. Consequently, the programming page simply shows the waypoint icons lined up in rows and columns on the left, and on the right are some examples of paths that one might make.

Perhaps the most interesting example path is the one in the lower right corner, which terminates in an arrow. This is the simplest implementation of my ‘herding ping pong balls’ idea. The user can set a ping pong ball on the table, then program the robot to go around to the other side and push it back to the starting point.

Anyhow, I think I’m done with Grisbot action modes for Version 1.0.

Posted in Uncategorized | Tagged , , , | Leave a comment

Grisbot Scratch Interface for Udrive

Here is the graphical user interface for U-drive (not U-turn as I said yesterday).

grisbot udrive scratch interface

To put the robot in U-drive mode, click on the U icon, and then go directly to the communications page. Do not bother with the scales on the programming page because they don’t do anything in U-drive mode.

When the computer is done communicating with the robot, the lights will flash a countdown, and that gives the user time to click back to the programming page. There, the user can program the robot by moving it over the U on the screen, as was described yesterday.

It should be noted that when the robot completes its programmed run, it will flash a countdown again and then go back into ‘record program’ state. This makes it possible to do reiterations of U-drive without having to go back to the comm page each time. If you want to get out of U-drive mode, turn the robot off and on again.

The icon was pretty easy to make, as you can see.

Udrive icon

I’m now up to seven action modes in all. I think one more should do it for Grisbot Version 1.0.

Posted in Uncategorized | Tagged , , | Leave a comment

Grisbot: U-Turn Mode

uturn demo

The idea is to once again program the robot by holding it up to the computer screen — but this time by analog rather than digital communications.

(I call this U-Turn Mode because of the U on the screen, but as you’ll see the robot turns left and right and goes forward too.)

uturn stop

When the robot’s photocell ‘eyes’ are both staring at the dark center in the middle of the U, the robot is being programmed to stop.

uturn left

Holding the left eye over the bright area while the right is still in the dark will program the robot to turn left. Note the left LED lights up.

uturn right

Likewise, right turn. We know it’s being programmed to turn right because the right-side LED lights up.

uturn forward

Holding both eyes over the bright bottom of the U programs the robot to move forward and causes both LEDs to light.

Holding the robot over the dark center for more than three seconds causes it to go into a ‘blink countdown’ for program execution (ie, it moves according to what you just programmed).

And here is the video:

Posted in Uncategorized | Tagged , , , | Leave a comment

Engineer Zero and the Lost Temple of Consumerism

A local mall had a flood a few years ago, and has never quite recovered. There’s a lot of empty space, which for me evokes a certain atmosphere of mystery and even a little adventure.

Come, let us depart from the beaten path of I-405 into the dim realm of zombie commercial real estate:

101_0038

It has kind of a Mayan/Aztec feel to the architecture, like a lost temple. Admittedly, the 24-Hour Fitness somewhat compromises the ambience.

101_0016

The symbolism of the floor mosaic will puzzle archaeologists of future centuries.

100_9999

This elaborate overhead light fixture may have served to induce a state of hypnotic trance among the cultic faithful. Fortunately, I am immu . . . .

101_0002

What lies behind these cavern-like walls? We can only imagine the secret chambers. Yes, let’s go with that.

101_0012

Hello, hello, hello. Echo, echo, echo.

101_0013

Here is one of the altars before which the worshipers of Consumerism knelt in prayer for the restoration of their feet and charge accounts.

101_0007

There’s a curtain, but was there a little man behind it?

101_0011

All it needs are hieroglyphs on the walls, and this could be mistaken for the Temple of Karnac.

101_0006

You know what’s really spooky? How much my rent has gone up when there’s vacant space like this just down the road.

101_0018

Alas, this one blurred photograph is all we retain of their most sacred scripture. Apparently, while there is no admonition against cannibalism, skateboarding was a mortal sin.

101_0024

Evidence of animal sacrifice has been found at the site.

101_0009

For those trapped within the labyrinth of consumer debt, escape must have seemed so close!

Posted in Uncategorized | Tagged , , | Leave a comment