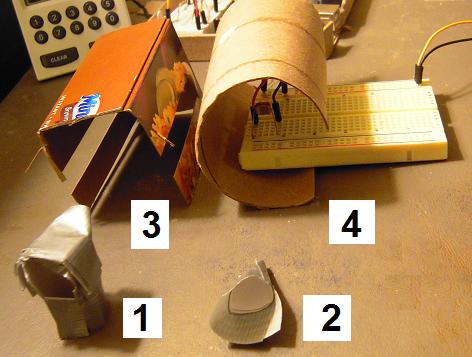
This shows the gradual evolution of cowling solutions for the LDR. The presence of ambient light raises not only the zero level but also the break level between 0 and 1, so it’s been a headache to adjust the arduino programming with the variation of light.
None of these solutions would even consistently work until #4, and of course it’s hardly satisfactory to jumper the LDR to a separate breadboard just so that I can build an adequate cowling around it. I’m hoping that the ambient light shielding problem will go away once I have a robot housing to put the LDR into (see previous entry).
At any rate, I think it’s time to move onto the Mintduino and the ‘Naked Atmel.’
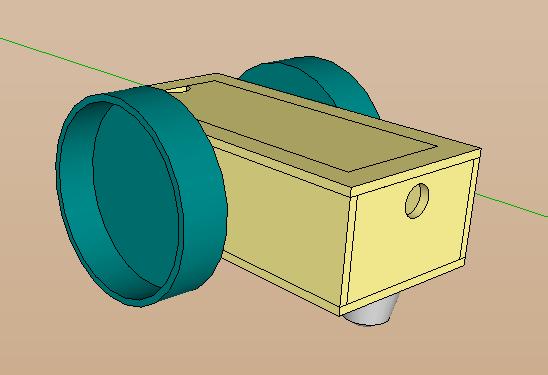
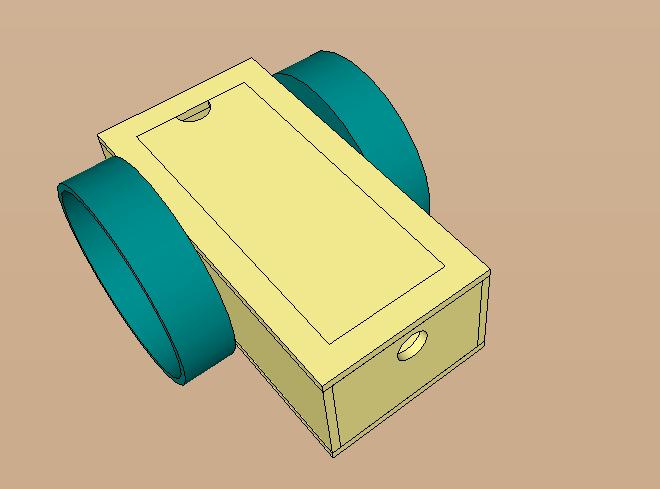
I’m still attempting to integrate the servo command sketch with the flash communication sketch, but I figure it’s time to start thinking about the external design of the robot. I plan to use a laser cutter on thin wood, with tabs and slots so that everything will fit together.
Anyhow, here are some more pictures. Bear in mind that I intend to make the actual robot about half the size of the prototype.
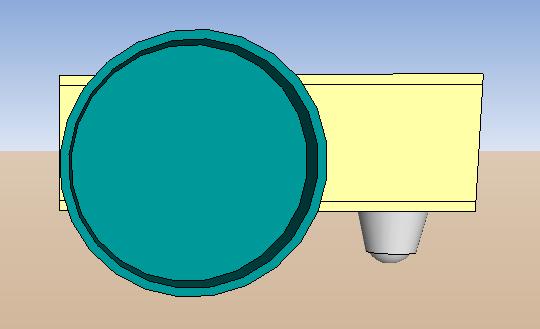
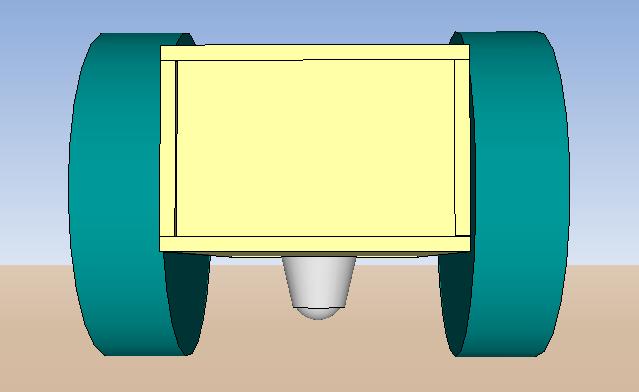
Side view:
There will have to be holes for the wheel axles of course.
Top View:
The lid and top will have to be cut at an angle or else the lid won’t sit properly. I hope a laser cutter can do that!
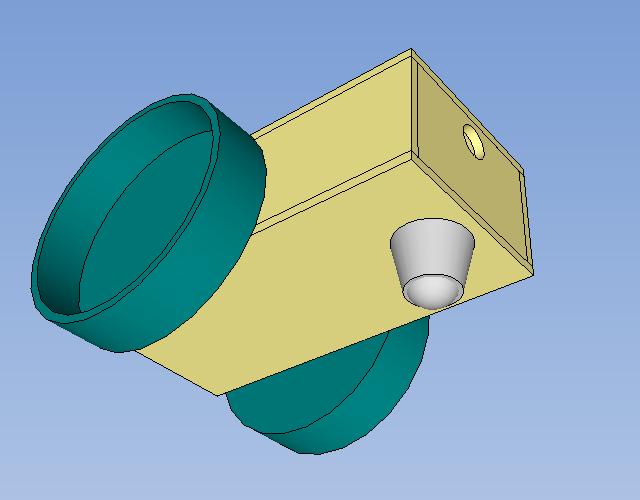
Undercarriage:
There will have to be bolt holes for the caster. The hole in the rear is for the LDR to peep through as it reads screen flashes.
Front view:
Rather barren and impersonal. I’m thinking there should be an access hole to attach sensors and LEDs to the front.
Not shown: the interior with compartments for the servos, battery, and mini breadboard.
Those of you who are coming to this blog from my Google Warehouse molecular models may be interested to know that I now have a dedicated Modeling Molecules blog and also have posted instructional videos on Youtube. Information and links are at this Modeling Molecules blog entry.
Worst demo ever, but these days I only have two hands. Here I needed three: one for holding the set-up, one for holding the camera, and one for clicking the mouse.
Notice the status bar, also that there is a green LED behind (or in front of) the yellow LED. It flashes multiple times at the end, signaling checksum match. That is, the bytes being transmitted are summed up and a modulus 90 operation is performed, and the result is sent as a final byte in the transmission. On the Arduino side, the bytes received are summed up and a modulus 90 operation is performed, and the result is compared to the result received from the screen-flash transmission. If the two checksums match, the green light flashes and the message was transmitted correctly. If the yellow LED flashes, then we are unhappy, for the message did not transmit correctly.
What a miserable time I have had in transmitting data via screen-flash. I thought I would be able to transmit at 60 Hz, because it worked in the test program. But when I tried to incorporate screen-flash into the GIRC program, the frame rate decided to slow down to 20 Hz. I spent many days wrestling with that, and finally gave up for now.
This is what the new set-up looks like:
The phototransistor has been replaced by an LDR (ie, light dependent resistor). I originally wanted to use an LDR because they’re a lot cheaper than phototransistors, but they’re also a thousand times slower. Even at 60 Hz transmission rate, an LDR was inadequate. At 20 Hz, however, they do work. Not that you would think so from the LDR’s data sheet rise time, but there’s a little trick involved with that.
A cowling has been placed around the LDR to cut out ambient light, which has been a problem. The cowling — or ‘enclosure’ as I also refer to it — is made of note card and duct tape. A kludge indeed. I’m planning to go to a laser cutting place. Then this thing will start to look nice.
Here’s my project schedule on the fly:
Check off Enclosure for today. Tomorrow I hope to Transfer Code from the Arduino test rig program into the robot program. I hope that isn’t a biggie, and so far programming the Arduino has been a lot easier than programming in Processing.
Well, this has been a rambling blog entry, hasn’t it? But the project is alive, and though I missed my deadline of having screen-flash done by this month’s SRS meeting for presentation, I have confidence that I will have not only screen-flash but everything else on the above note card done for presentation in the April meeting.
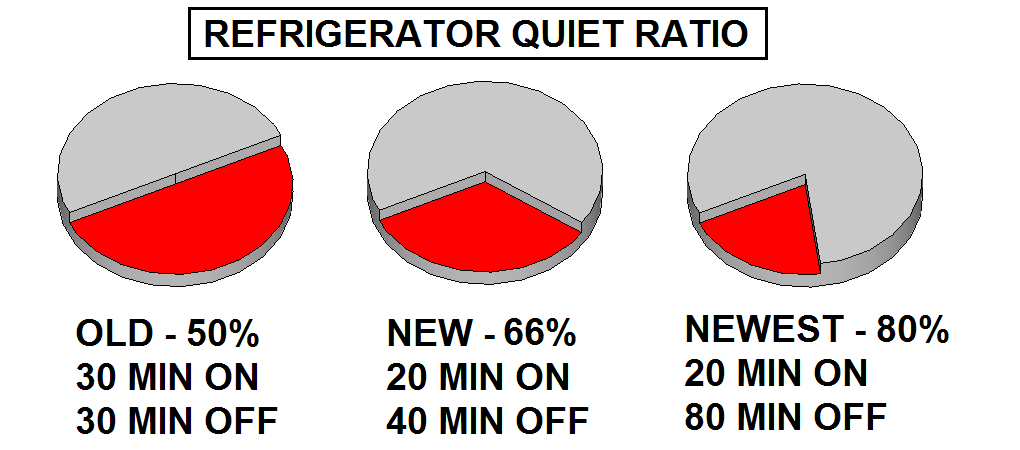
Yesterday I got a replacement refrigerator for the damaged replacement, and it seems to be running quite well. Not only is it quieter than the damaged refrigerator, but it also runs less often at the same internal temperature. Despite my hyper-sensitivity to noise, I think I can live with this.
On Saturday I made a brief presentation of GIRC at the monthly meeting of the Seattle Robotics Society. I demonstrated drawing the course and running it, as seen in the video above.
Where to now? I want to program with light. Also I need to calibrate. I’m still iffy about putting encoders on the wheels. We’ll see.
When I initialize my robot, the starboard (right-hand) servo chatters at the neutral position. As you can see from the video, for some reason this affects only the starboard servo and not the port (left-hand) servo. I think the reason has something to do with the manual adjustment not being centered.
Anyhow, rather than carefully tweak the servos manually, there is another way to avoid needless chattering. And that is to modify the servo attachment commands in the Arduino sketch.
What I was doing before was placing the servo attachment commands in the setup function, like so:
void setup(){
myservo1.attach(11);
myservo1.write(90);
myservo2.attach(10);
myservo2.write(90);
The solution is to place the servo attachment commands in the loop() function just before the action function and then place servo detach commands immediately thereafter, like so:
. . . where servo_on() attaches the servos as before and servo_off detaches like so:
void servo_off(){
myservo1.detach();
myservo2.detach();
}
By attaching the servos just before they’re used and detaching them immediately thereafter, I am minimizing the time the servos can chatter. In other words, servos can only chatter when they’re attached.
Note that when using the servo detach() command, the pin number is not expressed. That’s because the servo object remembers which pin it was assigned to by the attach() command. If you put a pin number in the detach() parens, you won’t just be making extra work for yourself, you’ll generate a compiler error message (as I learned to my puzzlement for several minutes).
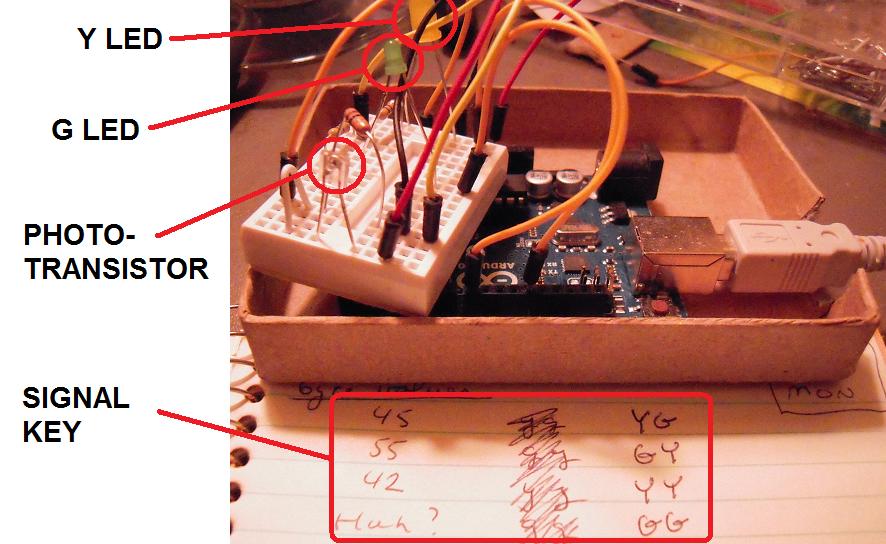
I’ve upgraded the hardware to include two LEDs in addition to the phototransistor. Based on the reading of the screen flashes, the LEDs flash according to the key shown.
Here’s a video of the system in action:
This is at a screen frame rate of 60 Hz, for a transmission rate (with trigger and null bits) of 6 bytes per second. For GIRC, that’s enough to convey 1.5 segment turn-and-move segment commands per second from the computer to the robot. A file of 15 commands, which is probably on the large side, would only take ten seconds.
This brings me closer to dispensing with the USB/Serial cable, and if I can do that, I can take the ATMega328 microcontroller off the Arduino. That will reduce the cost of my robotics kit by about $25.
To take a break from working on my main project, I decided to do a mini-project.
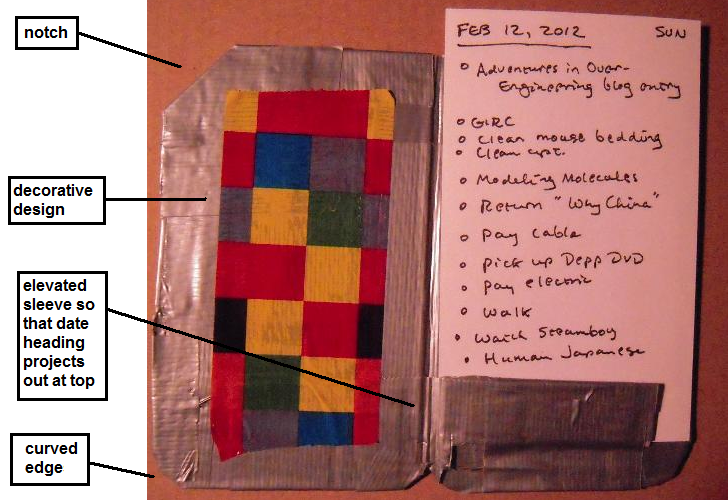
The problem: I keep losing my daily do lists in all the clutter of my life. So I thought, I needed a do list holder. And there’s no project, big or small, that can’t be over-engineered. Of course, it will involve lots of duct tape.
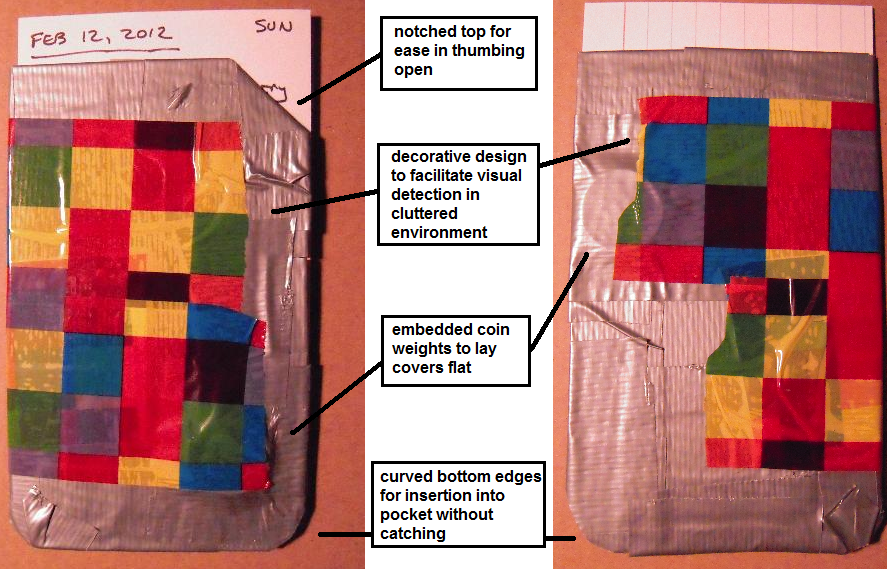
This is what I ended up with:
Now you may think, “It doesn’t look pretty.” But cheap ugliness is what I was aiming for as a design aesthetic. And the ‘decorative tape’ was on clearance at the arts and crafts store. And besides, it’s a prototype. That’s my story and I’m sticking to it.
At any rate, I no longer have the excuse of misplacing my do list to detain me from doing it.