Metric Blue Assembled

DSCN1791

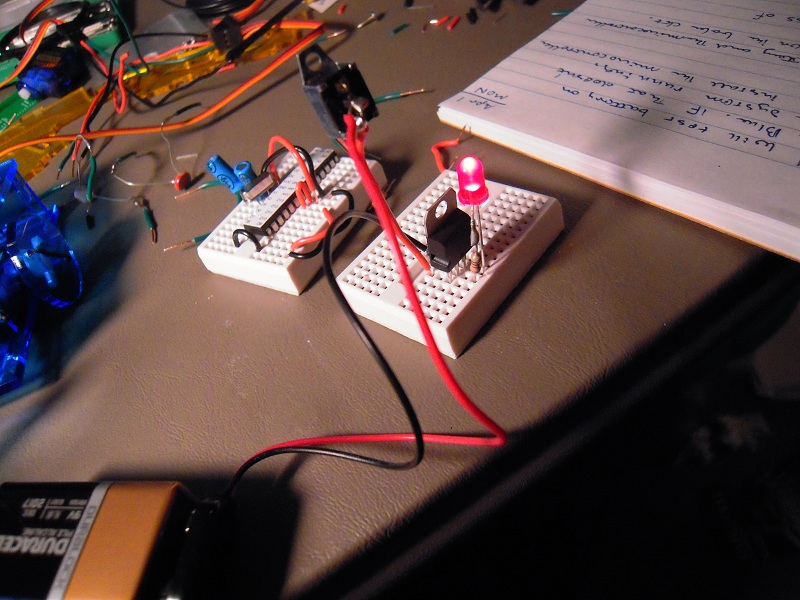
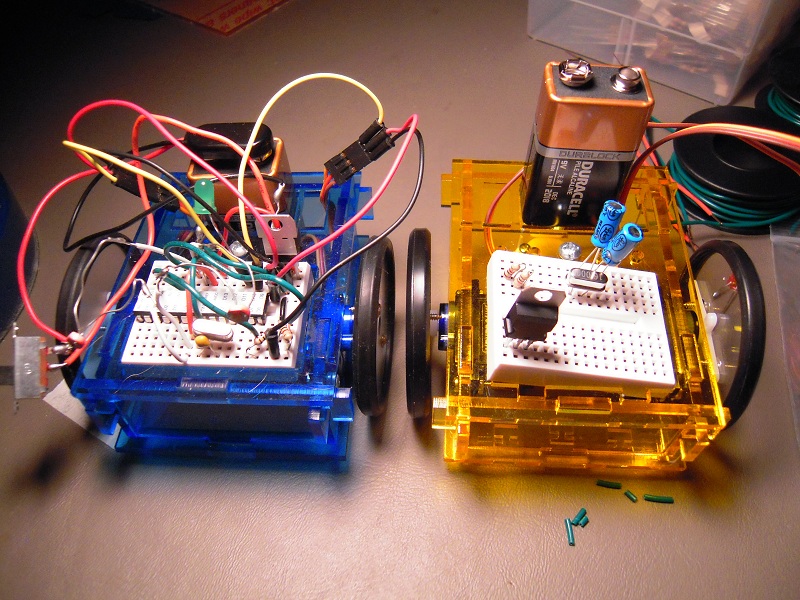
Metric Blue is now assembled sufficiently for operational testing. There was a bit of a tense moment when I discovered that I had connected the 9v battery lead to the voltage regulator’s 5v row, but miraculously nothing got fried. Though for a while the LED was remarkably bright!
DSCN1792

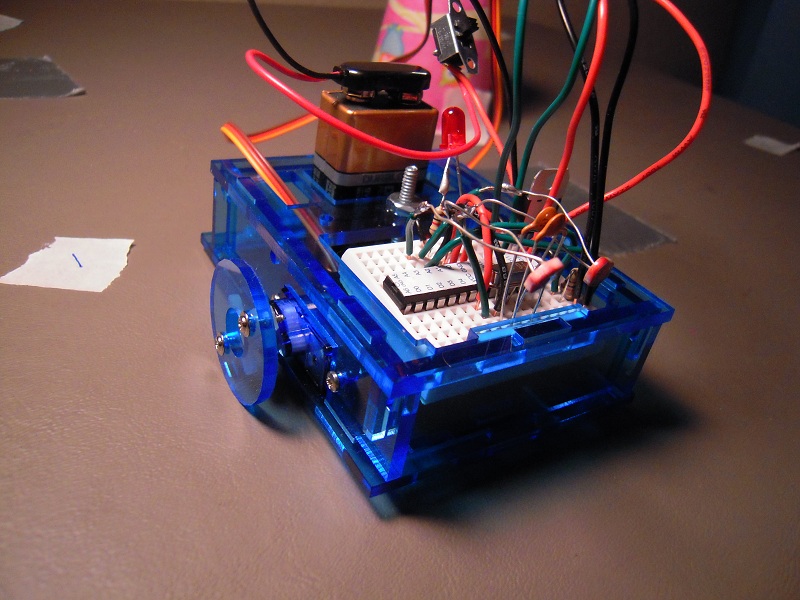
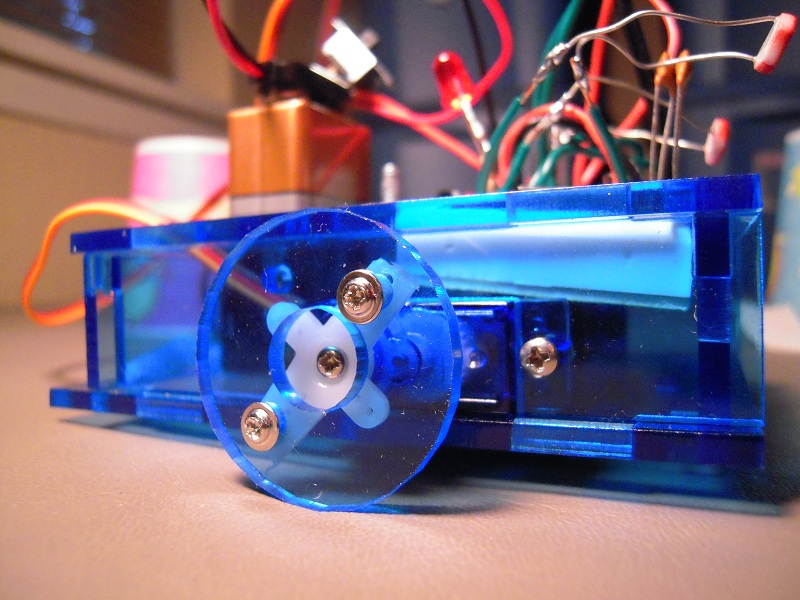
The wheels are half the radius of the old design. I did that so that the robot would run slower. Slower is better in this case because it’s a table top robot and the old robot was so fast it would often race to the edge almost before I could rescue it.

Also, the older, bigger wheels were wobbly. Metric Blue’s wheels are on tight. I miss the Toyota ‘tire’ gaskets that went on the old wheels, and for these new wheels have been thinking of putting electrical tape on the rims for added traction.
DSCN1794

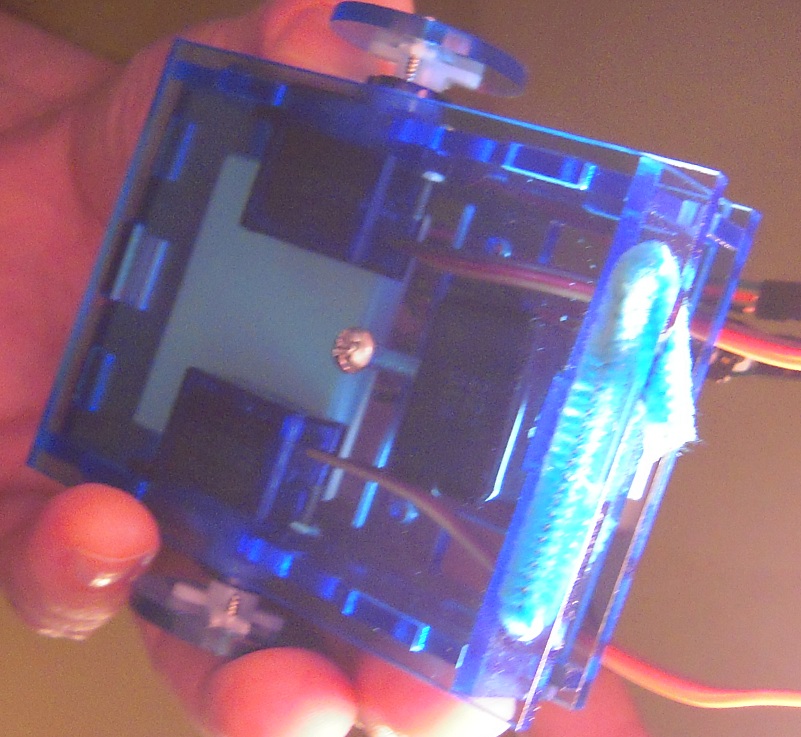
Notice the bottom’s rear edge has a ‘decorative’ pipe cleaner instead of a caster. A caster costs more than a dollar while the segment of pipe cleaner costs a few cents. Since Metric is small and built close to the ground, any old skid might have done, but a pipe cleaner cuts down on the friction.

I’ve tested the new robot on a table top obstacle course, and . . . I need a bigger table top. But it is definitely an improvement in navigational accuracy over the previous model.

Posted in Uncategorized | Leave a comment

Micro Servo Gear Pry Tool

In the process of converting a micro servo to continuous rotation, it is necessary to open the housing and pry the gears off the servo base one at a time. However, my fingers are just too big and clumsy to efficiently pry apart the gears on a micro servo. Even the standard pry tool doesn’t work that great. So I came up with the following idea.

To recap visually, here’s what needs to be pulled apart:

servo pry 01

Here are the two pieces of the micro servo gear pry tool:

servo pry 01a

Each piece consists of two bare metal wires forming a ‘V’ held in place by pegs on a base:

servo pry 01b

One piece is turned upside down and placed on top of the other, and then the micro servo is inserted horizontally into the micro servo gear pry tool (MSGPT?):

servo pry 02

And here’s the servo gear being pulled off the potentiometer shaft by the MSGPT:

servo pry 03

This should cut a few minutes of fumbling down to a few seconds of smoothness. My goal is to be able to convert a servo in under two minutes, which is considerably better than I’m able to do right now.

(What do you think, does the upper piece need a handle?)

Posted in Uncategorized | Tagged , , , | Leave a comment

Metric Blue Test Phase

DSCN1713

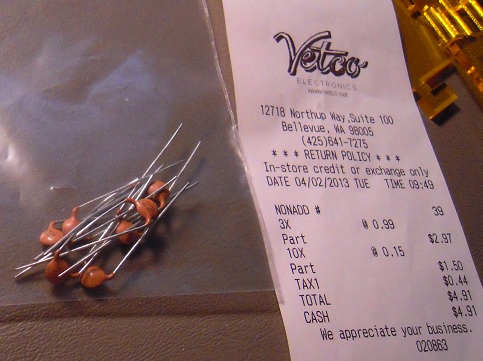
A quick trip to Vetco this morning, and I got some 22uF ceramic capacitors to replace the electrolytics that I was using in Metric Blue’s circuit. The LED blinked on cue. Success!

Then the screen read test was getting error flash, but it turned out that I had inserted one of the photo resistor leads into the wrong row. With that fixed, the circuit read the data off the screen just fine.

But then only one of the servos would turn. I switched wires between the servos, but to no avail. The left hand servo would always turn, the right hand would always not.

DSCN1714

As shown in the photo, I detached the servos from the circuit and attached them one at a time to an Arduino programmed to run a servo diagnostic test. It confirmed that the right hand servo was bad.

How did that happen? When I converted the servo to continuous rotation a couple days ago, I tested it and it was good. Maybe, in the time since, I connected wires wrong and blew out the internal circuitry. Anyhow, it looks like it will have to be replaced.

But the main thing is, the breadboard circuit appears to have passed test phase. Hooray!

Posted in Uncategorized | Tagged , , | Leave a comment

Troubleshooting and Fault Isolation

The freshly-breadboarded circuit for my new robot, Metric Blue, isn’t working. When the switch is flipped, the servos make a little noise for an instant, indicating that power is getting to them. But the LED never blinks the ‘ready’ signal.

I removed the microcontroller and installed it on the breadboard for my first robot, Babe, and the LED blinks on cue. So the problem has to reside with the other components. So next I made a couple test circuits using Metric Blue’s components:

DSCN1669

The LED failed to blink when power was applied to the breadboard of the simplified battery-powered ATMega circuit on the left. (Circuit is partially-disassembled at the time of the photo.)

For the breadboard circuit on the right, as you can see, the LED does indeed light up. That tells us that the battery, switch, voltage regulator, and LED are all fine.

So what does that leave? The fault must reside in the crystal, the capacitors, or the breadboard itself. It could also be that I wired up the breadboard wrong.

(There is also the dark theory that some kind of malevolent supernatural entity is at work. There are times when frustration causes every engineer’s faith in material reality to waver.)

Next stop is a trip to Vetco, to see if I can get some 22uF ceramic caps to change out the electrolytics presently in Metric Blue’s circuit.

Posted in Uncategorized | Leave a comment

Why Breadboarding is like Hiragana

In the Japanese writing syllabary known as hiragana, stroke order is important to properly compose the characters. Likewise, in building a bread board circuit, it’s important to figure out the order of installing the wires and components. Otherwise you find that a wire/component you inserted previously is getting in the way of inserting a wire/component now.

DSCN1629

In the breadboard shown, I’ve decided it’s best to set down the common voltage and ground wires first.

1. As a general rule, the shorter the connection the earlier it’s set in place.

2. The wires at the bottom of the breadboard are routed over the edge so that they don’t block the holes inbetween.

3. Wires that pass over the microcontroller are made long enough so that they can arch, thereby allowing the microcontroller to be removed and reinserted for reprogramming.

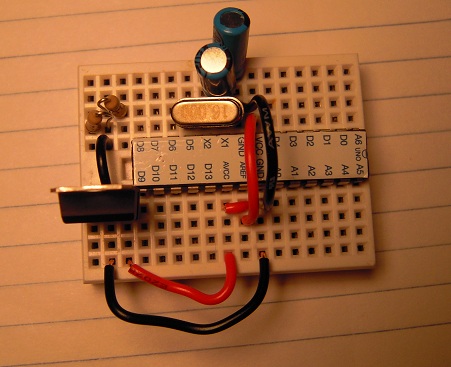
The photo shows the first layer of circuitry completed, now the rest of the circuitry will be layered on top.

Posted in Uncategorized | Leave a comment

Rodents Inspect Robots

Posted in Uncategorized | Leave a comment

Grisbot in metric

grismetric

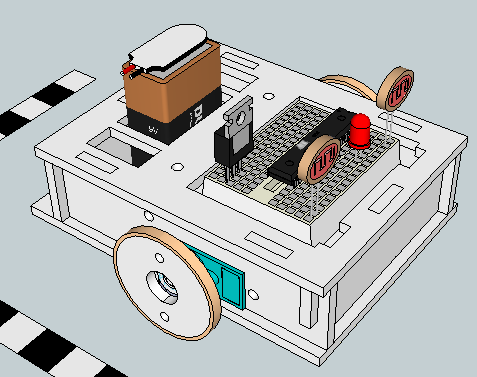
I decided to completely redraw minigrisbot in millimeters instead of inches, and it went much, much faster. Friends don’t let friends design robots in English units. (Pouring ale is another matter.)

But why re-design something that’s already designed? In case I want to mod, it’ll be much easier doing the measurement arithmetic in my head. Moreover, I’ve been having trouble with transferring files from Sketchup to the SVG plug-in to the laser cutter. I think going to metric may solve the problem. We’ll see.

Note the wheels are smaller (approx 50%). I’m leaving the color blank for now in Sketchup but I have a couple extra blue sheets of acrylic so that’s how it’ll turn out.

Posted in Uncategorized | Tagged , , , , | 1 Comment

Grisbot with new courses

Here are three obstacle courses, which can be selected by choosing the corresponding icon at the top of the screen:

course-1

course-2

course-3

I’ve been thinking about adding different modes, such as following a flashlight beam. If you have any ideas for what you’d like to see a simple robot do, let me know and I’ll try to add it.

Posted in Uncategorized | Tagged , , , | Leave a comment

Laser Cut Parts Variation

DSCN1402

The breadboard and battery holes should have been the exact same size from (Blue) Babe to Goldie. Instead, on Goldie the holes appear to be a quarter inch too small in width.

Why? I revised the part, but I don’t recall compressing the holes. Maybe I did, or maybe something else is going on.

This is depressing because I was hoping to blog about a completed second robot today. Well, I’ll get a new top piece cut and it’ll just have to be another day.

Posted in Uncategorized | Tagged , | Leave a comment

How to stick resistors in breadboards

DSCN1382

Not like that. Like this:

DSCN1381

Also recommended: Cup your hand over the clippers when you snip the unbent lead even with the bent, which sounds metaphorical but will in practice keep little metal bits from flying hither and yon.

Posted in Uncategorized | Tagged , , | Leave a comment